Installing the 45° using a router and jig.
Designing the Jig
The jig is basically a piece of plywood with a cleat on one side. The plywood will be clamped onto the grate with the cleat against the skirt. The notch in the plywood will be slightly larger than the finished notch in the grate to allow for the difference in the router bit and guide bushing. Thank your trigometry teacher and get out your calculator. Here's a Document that shows a drawing of the jig, all the equations, and my solution. I designed it for a 2.5" brace (which I believe is the max) set 3/4" into the grate, and to use a 1/4" router bit with a 1/2" guide bushing.
Cutting the jig.
 I cut the jig on the tablesaw. I did the 45§ angle on both pieces first, then after resetting the blade to 90° I slowly raised it until it just met the top of the 45. I then nibbled my way across. As I reached the far end I made a series of real fine cuts, measuring with my dial calipers until I reached the desired dimension. Finally I unclamped the jig, centered it over the highest point of the blade and slid it back and forth to smooth out the back of the jig. This smoothed out any rough spots that would transfer to grate when I used the jig. Stay away from the edges here- the curve of the bushing will keep you from hitting them, and it's not worth risking a slip that will mess up the jig.
Testing the Jig
Now we're ready to slap the jig on the grate and cut those nothes, right? I don't think so. This thing's not going near the boat until I've checked it.
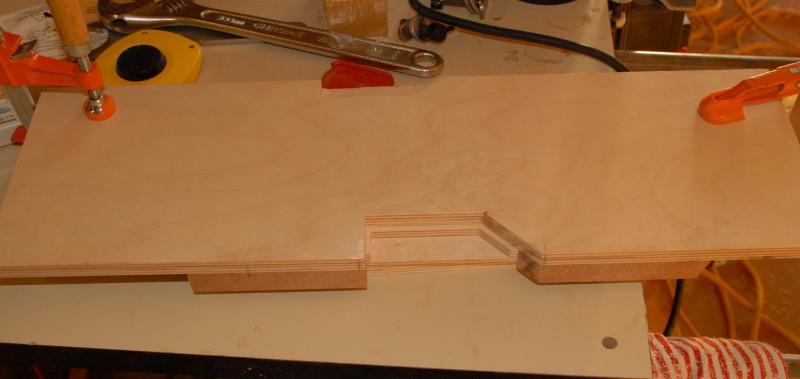
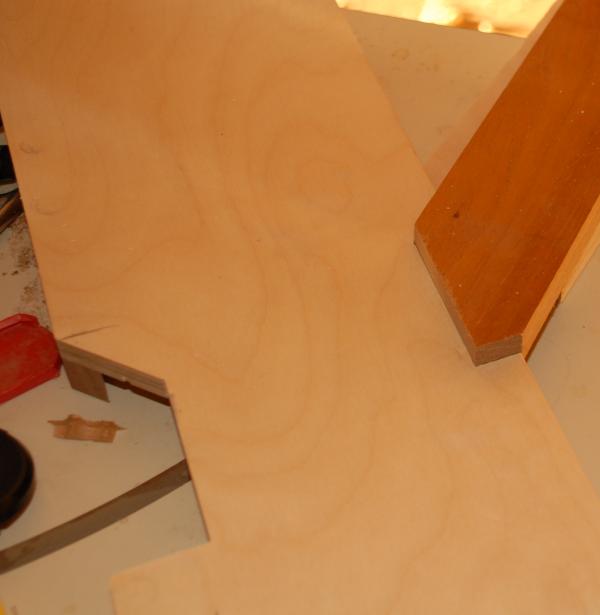 Checking it was simple- I just clamped one jig to the other, set the router to take out about half the thickness of the board, and routed a test notch. Then I laid in my already prepared brace- an excellent fit. I repeated this for the other jig as well. Now I not only have a pair or jigs, but I can check the fit of a brace before installing it. So I can adjust the brace, or if I was to install 45's on 2060 someone else's boat, the pieces could be prepared in advance. I could even do the installation at the lake, taking only the router and some hand tools.
Locating the 45's
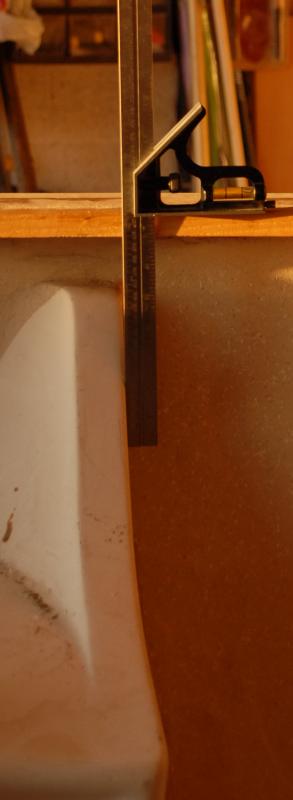 I started by finding the point on the rails directly above the forward edge of the seat tanks-just put a combination square on the rail and mark when it touches the tanks. I then laid a board across the hull between the 2 points I'd just marked and measured from the stem. It was 81 9/16"- the plans call for 81 1/2"- frighteningly close.
 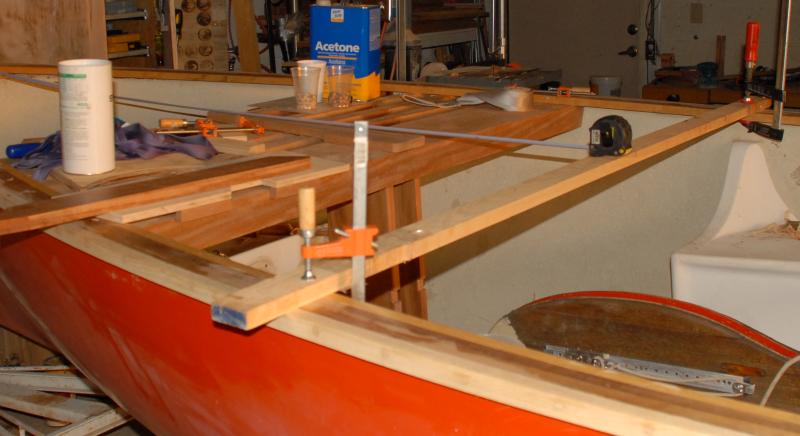 The centerline of the shroud holes is 1.5" forward of this, so I marked that line for later. Finally, I decided that I'd place my 45's a little farther back than Doug does, and ran their aft edge right up the the forward edge of the seats. Since my braces are 1/2" wider than Doug's this actually moved the forward edge back only about 1", and still had brace supporting the shroud hole.
Installing the 45's
After all that prep work, the installation was easy. I placed a jig on the grates, then put the brace in so that it rested against the inboard forward corner. 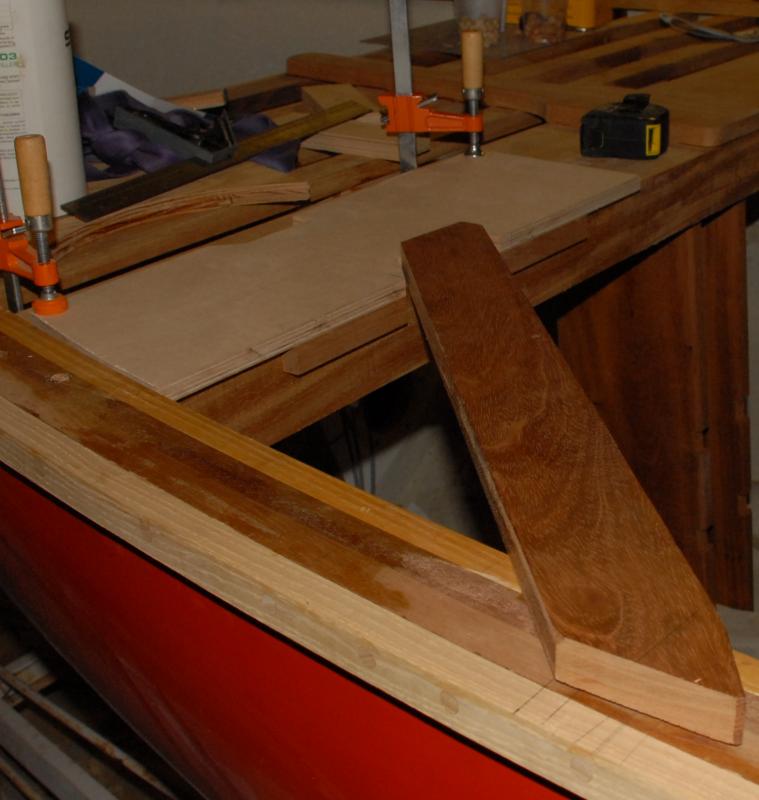 Then I slid the jig in/outboard so that the aft edge met the line I wanted and clamped it in place. It was about 13 1/4" from the inboard edge to the rail- pretty much what I expected.
 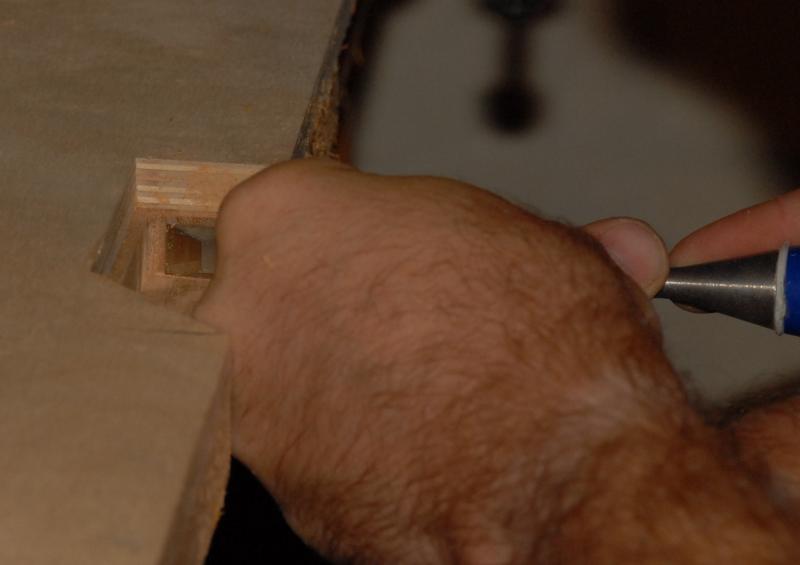 It took about 2 minutes to router out the notch, and a couple more to finish up the corners with a chisel. Finally, I trimmed the outboard end of the brace to just clear the hull. After I had both sides ready, I glued them in with epoxy.
Doug Laber's approach
When I compared my plan to 3521's actual, I panicked. Those braces were almost 16" inboard, and made about a 30° angle to the grates. If you measured from a line perpendicular to the rail behind the brace it was about 45° I emailed the chief measurer (which is usually a multi-day process while he looks through records and consults with his advisory panel), and the next day I called Doug Laber at GMW. Doug allayed my concerns- his current process was basically what I'd been planning. Here's my notes from that phone call. Note that Doug uses a 2" brace while I did a 2.5", and his are slightly farther forward than mine.
- Cut brace 2" wide and plenty long.
- Miter inboard end and cut off tip so it matches the depth of the skirt
- Mark centerline of shroud plate hole ( this defines the aft end of the brace at the rail.)
- Position brace so it's at 45deg to the grates and the forward edge is aligned with the glue line between grate and skirt.
- Slide it in/outboard (maintaining the 45° angle) until the aft edge touches the rail at the centerline for the shroud hole. This usually puts the inboard edge about 11.5" from the rail. (+/- 1/2")
- Notch the skirt to receive the forward end.
- Trim the aft end of the brace so it sits just inside the hull
- Glue it together.
From the Chief Measurer
... it is supposed to be 45 degrees to the grate and must intersect the rail where the stay passes through the rail.
Installing the 45° with hand tools.
You don't have your own woodshop?
And you call yourself a Thistler! You should be ashamed. How can you keep the finish on your rails so shiny you can comb your hair in your reflection? Or maybe you spend more time sailing instead of making sawdust. However you can install 45° braces with just a few hand tools.
What you'll need:
- Several Clamps
- A Sharp Chisel
- A combination square
- 4 blocks of wood with square sides, one with an end cut to 45°
- Your braces cut to width and with at least the grate end cut to the 45's you want.
Notice I said a sharp chisel. As in Scary Sharp. A dull chisel will not only cause you headache and create an inferior result, but it's not safe. Also notice I specified square blocks of wood. Leave the big-box 2x4 blocks alone (unless they've been dried for 6 months then run through a jointer). You want something that will give you a straight, flat surface that is perpendicular to the grate. These will guide that nice sharp chisel- if they're off, your chisel cuts will be too.
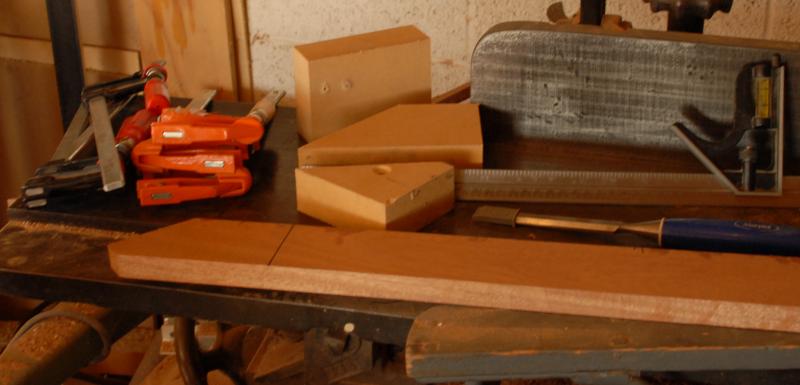
 Gather your supplies. I only made 3 blocks since I'm not clamping one to the skirt.
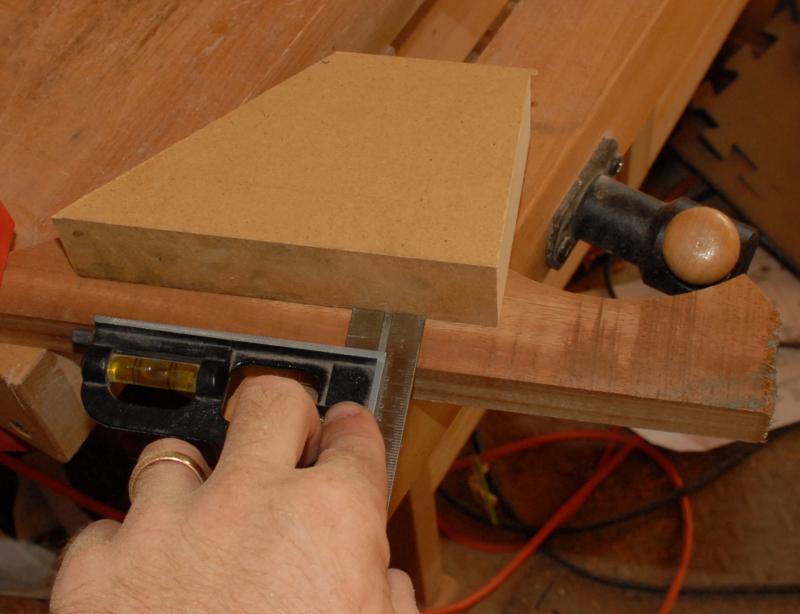
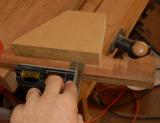 Use the combination square to set the back block. You want this to be in the spot where the brace will be cut into the skirt.
-
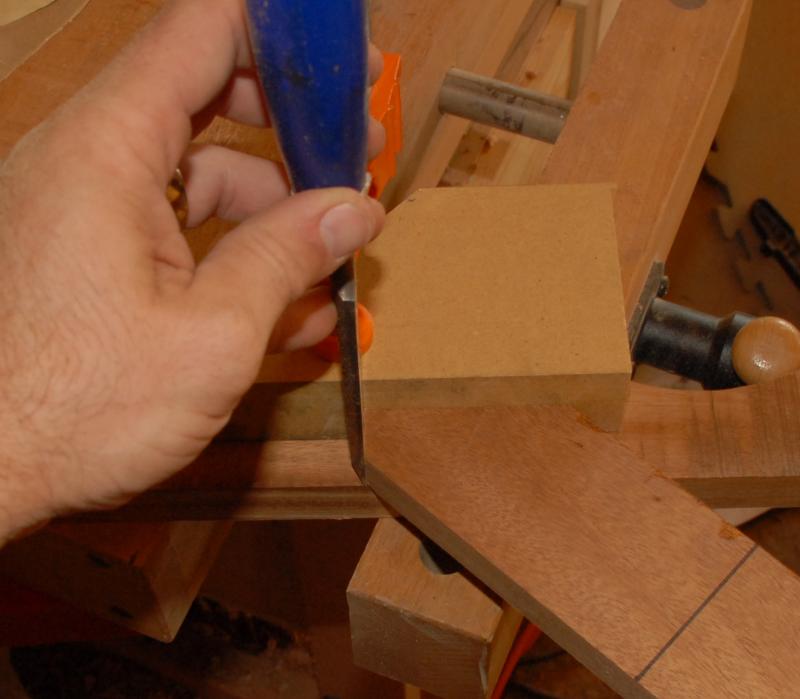
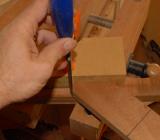 Position the brace against the back block. Slide int in/outboard until it's where you want it, then use the chisel to mark the grate where the inboard edge and the 45° edge are.
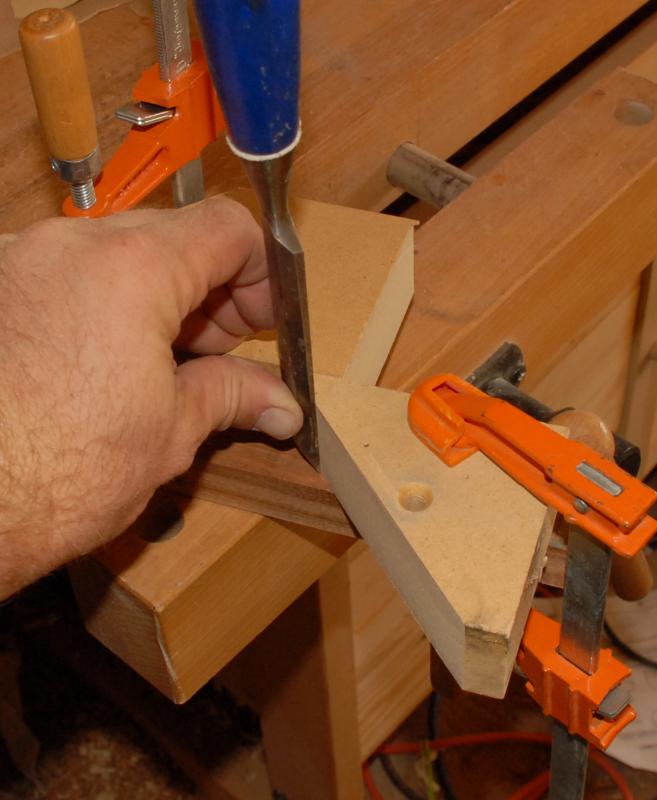
 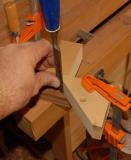 Place the blade of the chisel into the mark you just made, then slide the block up against it. When the chisel is flat against the block, clamp it in place. Set the 4th block on the skirt with the combination square to mark your depth.
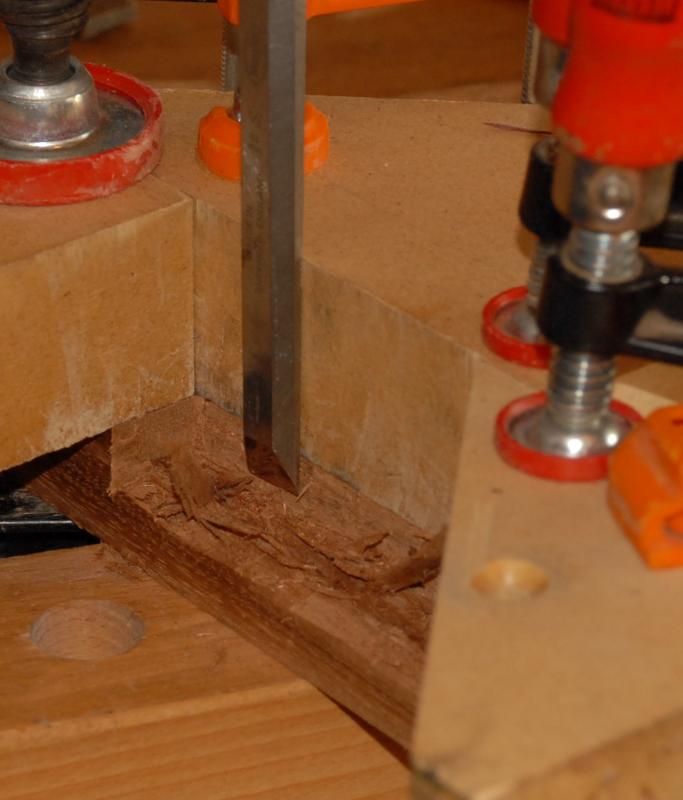
  Chop your way down-push the chisel in along the edges to create a stop cut, then clean out the waste with a horizontal paring cut. When you start out stay a little inside your lines so when you finish you can use a vertical paring cut to clean up and give a good finish.
-
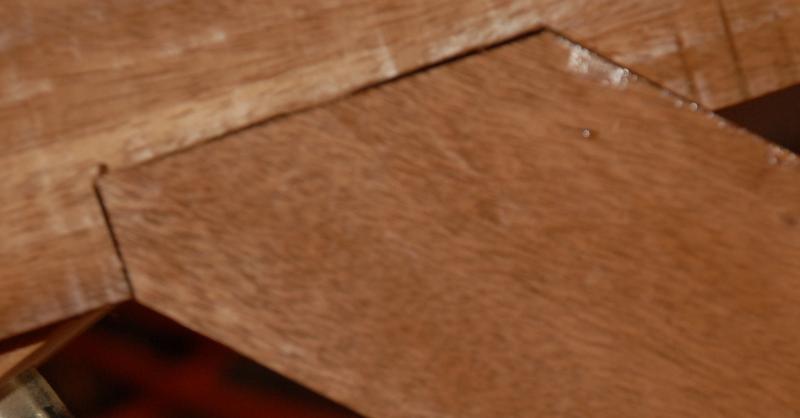
 You did practice first, right? My example was on a piece of scrap that had to be the hardest bit of mahogany I had, and my chisel hadn't been sharpened recently. If I had gone back and cleaned up the edges with some final paring cuts it'd have looked better. I also had some problems with my guide blocks sliding-partly because of their size, partly because of the scrap piece's size. Make your blocks plenty big and clamp them well.
Want to borrow my jigs?
If you pay for shipping, they're available to borrow. Yes, you could make your own, but for about $10 it's probably worth it to save the time and use a proven set. Or come over to a regatta in AZ (or MWW if you contact me in advance) and I'd bring the jigs (and if you paid for the wood, precut pieces). You could install the 45s in the parking lot in under an hour.